
A syllabus can look like a wall of text, especially in week one when you are juggling multiple classes. But it is actually your course map. If you know what to look for, you can turn one document into a clear semester plan. As a first pass, many students can time-box this to about 30 to 45 minutes per class, then refine as the course unfolds.
The goal is simple: extract the rules (how you are graded, what counts as late, what happens if you miss class) and the schedule (what is due and when), then translate that into a weekly routine you can repeat.

Start with a 10-minute scan
Before you highlight every line, do a quick first pass to find the sections that will affect your time, your grade, or your ability to avoid administrative issues like attendance-related penalties.
1) Find the course basics
- Instructor name, office location, and preferred contact method
- Office hours and whether you need an appointment
- Course format (in-person, hybrid, online) and meeting times
- Where assignments live (LMS like Canvas or Blackboard, email, publisher platform)
2) Locate the grading breakdown
Look for a table or list that shows how your grade is calculated. Copy the category weights into a note you can see often.
- Exams: 40%
- Homework: 25%
- Labs or projects: 25%
- Participation or attendance: 10%
If the syllabus includes rules like “must pass the final to pass the course” or “lowest quiz dropped,” flag that. Those policies change how you should prioritize.
3) Mark the policies that can trigger unexpected zeros
For many students, a big source of semester stress is getting surprised by course policies rather than the material itself. Look for these keywords: late work, make-up, attendance, participation, academic integrity, technology, grading scale.
- Late work: Is it accepted? With a penalty? Only with documentation?
- Make-up exams: Allowed only for excused absences? Must notify before class?
- Attendance: How many absences trigger a grade drop or other consequences?
- Participation: Is it subjective, based on posts, or based on in-class activities?
If a policy is unclear, write one question for your instructor now. Asking in week one feels normal. Asking in week nine feels like a crisis.
4) Identify required materials and access codes
Check for anything that takes time or money to obtain:
- Textbook edition and whether older editions are acceptable
- Lab manual, calculator model, art supplies, or software
- Online homework platform and whether there is an access code
- Reading packets or library reserves
5) Find key dates that affect your options
Some important deadlines are course-specific and some are campus-wide. Either way, they belong on your radar early.
- Add or drop deadline (often in the syllabus or academic calendar)
- Withdrawal deadline and the grading consequence (W, WF, etc.)
- Exam windows for midterms and finals, if listed
6) Find accommodations and support statements
Most syllabi include a section on accessibility, disability services, or academic accommodations. Read it in week one, not when you are already behind. If you think you might need accommodations, start the process early since approvals and testing arrangements can take time.

Extract deadlines and grade impact
Now that you know the rules, shift to the schedule. Your job is to pull information out of the syllabus and put it somewhere you will actually use.
Create a Syllabus Snapshot
Use a notes app, a document, or the first page of your notebook for the class. Keep it short and easy to scan.
- Major grade categories and weights
- Critical rules (late work, attendance, make-ups)
- Major deadlines (exams, projects, papers)
- Recurring deadlines (weekly quizzes, discussion posts)
- Where to submit (LMS, email, platform)
- Instructor contact and office hours
Pull every due date into a master list
Even if the syllabus says “subject to change,” start with what you have. Make a list of:
- Exam dates (including midterm and final windows)
- Paper milestones (topic proposal, outline, draft, final)
- Project checkpoints (proposal, progress report, presentation)
- Lab reports and practicals
- Reading quizzes, discussion posts, problem sets
If the syllabus includes a week-by-week reading plan without specific due dates, treat the class session itself as the “deadline” for that reading. Then add a personal target the day before so you are not doing it five minutes before class.
Time-box your workload estimate
Time estimates do not have to be perfect to be useful. Use these as starting points for the first two weeks, then adjust based on how long the work actually takes you.
- Common credit-hour rule of thumb: Many colleges and advisors suggest budgeting about 2 to 3 hours of work outside class per credit hour each week, with wide variation by course type and term length.
- Reading-heavy courses: Start by blocking 60 to 90 minutes a few times per week, instead of one long session.
- Problem-set courses: Plan extra practice time beyond what is assigned, especially before quizzes and exams.
- Writing courses: Plan writing in sessions, not in one block (3 to 5 shorter sessions beats one marathon).
- Labs: Add time for pre-lab prep and post-lab write-up since the work rarely ends when you leave the room.
Turn it into a weekly plan
You do not need a fancy system. You need a plan that shows what is due, when you will start, and how you will keep up when life happens.
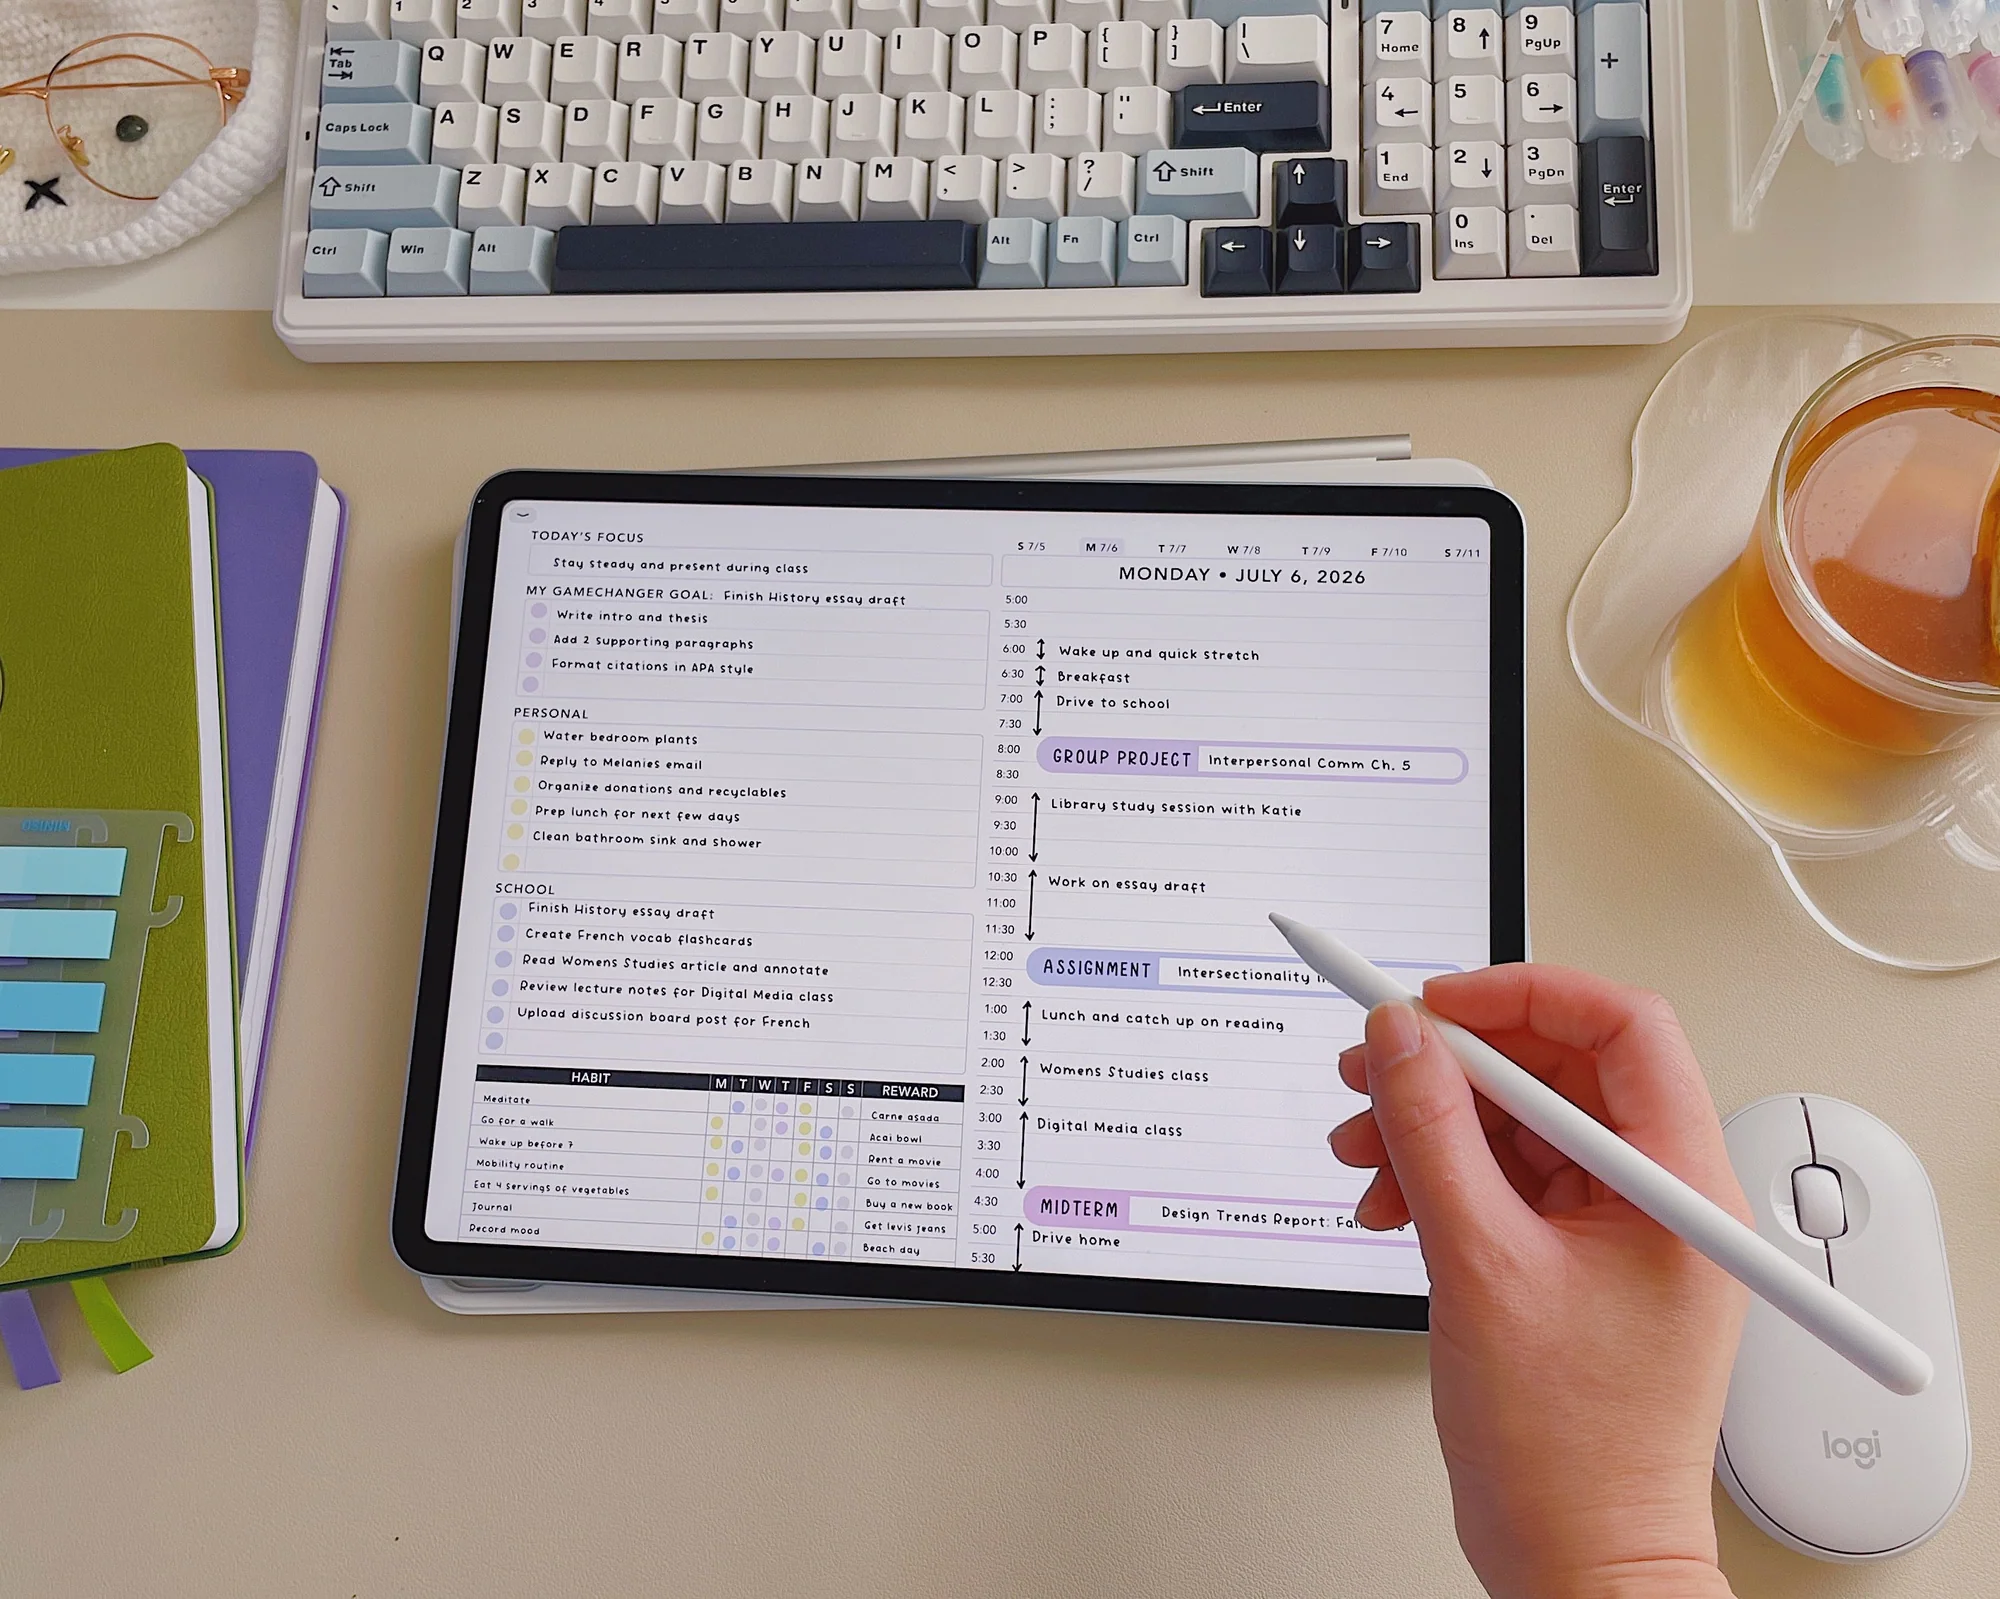
Step 1: Put due dates on one calendar
Choose one primary calendar: Google Calendar, Apple Calendar, Outlook, or a paper planner. The tool matters less than consistency.
- Add every exam, paper, project deadline, and recurring assignment
- Include the time if the syllabus specifies it (for example, “due 11:59 pm”)
- Label entries clearly: “BIO Lab Report 2 due” beats “Lab due”
If your instructor uses modules that open weekly, add a repeating reminder: “Open module, check tasks.”
Step 2: Add two layers of reminders
Deadlines are easier when your calendar reminds you before you are in panic mode.
- Major assignments: reminders at 14 days, 7 days, and 48 hours before
- Weekly work: reminders 48 hours before and the morning of
If you prefer paper, replicate this with a weekly preview habit: once a week, look ahead seven days and rewrite the real deadlines at the top of your weekly page.
Step 3: Build start dates, not just due dates
This is where a semester plan becomes real. For each major assignment, add a start date and one checkpoint.
- Essay due Oct 15
- Start: Oct 5 (choose topic, gather sources)
- Checkpoint: Oct 10 (rough draft done)
- Exam on Nov 3
- Start: Oct 24 (begin review set)
- Checkpoint: Oct 31 (practice exam or problem set)
Start dates protect you from the most common trap: thinking you will “have time later.”
Step 4: Create a repeatable weekly routine
Instead of reinventing your schedule every week, assign each class two to four default work blocks. Example:
- Monday: preview readings for Tuesday classes (45 to 90 minutes)
- Tuesday: post-class review and start homework (60 minutes)
- Thursday: deeper work block for projects (90 to 120 minutes)
- Sunday: weekly planning and catch-up (30 to 60 minutes)
Then, layer deadlines on top. When the week gets busy, your routine becomes your safety net.
First-day checklist
Week one goes smoother when you treat it like a setup day. Here is a checklist that holds up for most students.
- Download and save the syllabus (and any course schedule) to a folder you can find fast.
- Confirm how to contact your instructor and write down office hours.
- Log into the course site and locate modules, assignments, grades, and announcements.
- Check required materials and order or borrow what you need.
- Enter every due date you can find into your calendar or planner.
- Set reminders for major assignments and weekly recurring work.
- Identify the top 3 grading categories (the ones that will move your grade the most).
- Write down policy deal-breakers (attendance, late work, make-ups).
- Confirm add or drop and withdrawal deadlines so you know your options early.
- Confirm final exam details. The registrar schedule usually provides the date and time, but format (in-person or online, cumulative or not) and allowed materials are often confirmed by your instructor.
- Make one small win happen today: complete the first reading, post, or pre-class task so you are not starting behind.
Update your plan when things change
Most courses shift at least a little. A guest speaker gets rescheduled. A quiz moves. A project timeline gets adjusted. The students who feel calm are not the ones with perfect syllabi. They are the ones with a simple update habit.
Use a 10-minute weekly update routine
Pick one consistent time, usually Friday afternoon or Sunday evening.
- Step 1: Check announcements, email, and the LMS for new dates or instructions.
- Step 2: Compare the LMS assignment list to your calendar.
- Step 3: Update your calendar first, then your weekly to-do list.
- Step 4: Add or adjust start dates so you still have runway.
- Step 5: Choose your must-do tasks for the week (usually 3 to 5) and schedule them.
When a due date changes, do these two things
- Move the deadline. Sounds obvious, but many students add the new date and forget to delete the old one. That creates calendar noise you will start ignoring.
- Reassign your work blocks. If the assignment moved earlier, you need time now. If it moved later, reclaim the time for another class or a buffer week.
Keep a Questions for Instructor note
Every time something is unclear, add it to one note. Then bring it to office hours or send one concise email. This prevents the frantic, scattered messages that can happen when you wait.
Quick example: syllabus to routine
Let’s say your syllabus shows:
- Weekly quizzes every Friday (10%)
- Homework due Tuesdays (20%)
- Midterm in Week 7 (25%)
- Final project due Finals Week (30%)
- Participation and attendance (15%), with a strict attendance policy
Your weekly plan might look like:
- Sunday: preview the week, start Tuesday homework (60 to 90 minutes)
- Monday: finish homework, list quiz topics (60 minutes)
- Wednesday: quiz review session (45 minutes)
- Thursday: quiz practice and questions for class (45 minutes)
- Friday: quiz, then 15-minute post-quiz check-in (What did I miss? What is next week’s focus?)
- Saturday: 60-minute project block (keeps the final project from becoming a last-minute monster)
Notice what happened: the syllabus told you what is graded and when, and your plan told you what to do on ordinary days.
Mini example: readings without due dates
Say the syllabus lists “Week 3: Chapters 5 to 7” but does not specify due dates. If your class meets Tuesday and Thursday, you can translate it like this:
- Monday: Chapter 5 (60 minutes)
- Wednesday: Chapter 6 (60 minutes)
- Thursday: Chapter 7 skim and notes for discussion (30 to 45 minutes)
You just turned a vague weekly reading line into calendar blocks you can actually follow.
Mini example: group projects
If your syllabus mentions group work, plan the coordination now. Put one repeating meeting on the calendar (even 20 to 30 minutes), agree on one communication channel, and set an internal deadline 24 hours before anything is due.
Common syllabus mistakes
Relying on the syllabus but ignoring the LMS
In many courses, the LMS becomes the living schedule. Use the syllabus for big-picture rules and weights, then verify dates against the LMS weekly.
Not reading the late-work policy until you need it
Some instructors do not accept late work at all. Others accept late work with a penalty. Your plan should match that reality, especially during weeks when multiple classes collide.
Only planning deadlines, not prep time
Due dates are the visible part of the iceberg. Prep time is what keeps you afloat. If you add only deadlines, you will feel like everything is always happening “suddenly.”
Assuming participation is optional
Participation points can be the difference between a letter grade. If participation includes attendance, in-class work, or discussion posts, treat it like a real assignment with scheduled time.
One simple system
If you are overwhelmed, choose a minimal approach and do it consistently:
- One calendar for all deadlines and class meetings
- One weekly planning session (10 minutes) to update dates and choose top tasks
- Two work blocks per class per week as your default routine
You can always add color-coding, apps, or more detail later. The best semester plan is the one you keep using when you are tired.