When families tell me they want “more hands-on STEM,” what they usually mean is: we want a place where experimenting is normal, mess is manageable, and supplies are easy to find. The good news is you do not need a fancy renovation or a wall of expensive gadgets. A strong at-home STEM lab is really three things: a safe workspace, a small set of reliable tools, and a simple system that makes students want to use it.
This guide walks you through building a middle- and high-school-friendly STEM lab on a budget, with options for small spaces and shared family areas. I will also give you a short list of projects that match the supplies so your lab gets used right away.
Start with the space
Before you buy anything, pick a “home base.” The best STEM lab is the one your student can access without asking permission, moving ten items, or hunting for a charger.
Three location options
- Desk or table corner (smallest setup): A dedicated bin plus a washable mat is enough to begin.
- Kitchen or dining table (shared space): Great lighting and easy cleanup. Use a “lab tote” that comes out and goes away quickly.
- Garage, basement, or spare room (expanded setup): Best for building projects, soldering (with supervision), or messier engineering work.
What the space needs
- Light: A bright lamp reduces measurement errors and improves focus.
- Water access or cleanup plan: A sink nearby is ideal, but a wash bin and paper towels can work.
- Ventilation: An open window or a fan for any activity that produces fumes or strong odors, like hot glue, soldering, and melting plastics.
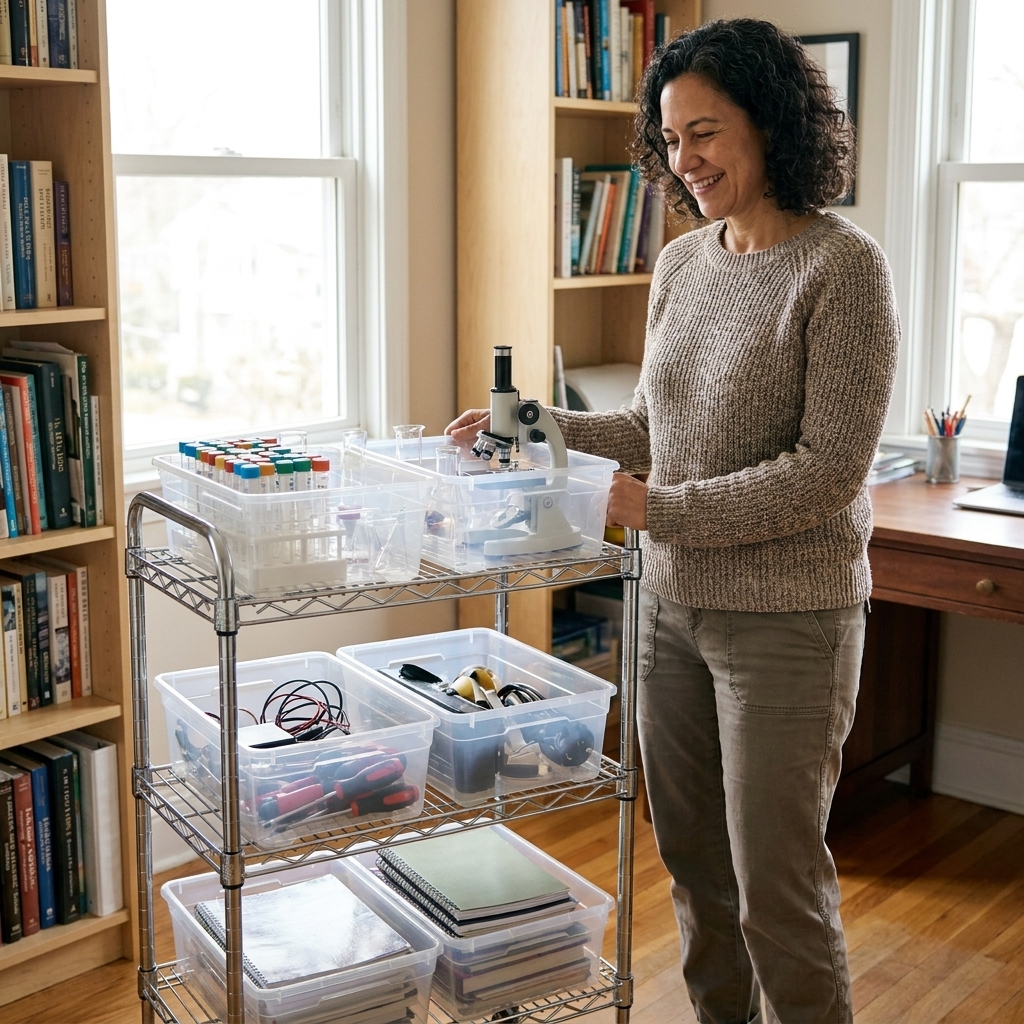
- Storage that resets easily: A rolling cart, shelving cube, or one lidded tote is often better than scattered drawers.
Advisor tip: If your student is reluctant, start with the smallest possible setup and a single “signature activity” they will actually do. Success builds the habit.
Safety first
Middle and high school students are capable, curious, and sometimes overconfident. Safety training is not about fear. It is about independence.
Non-negotiable basics
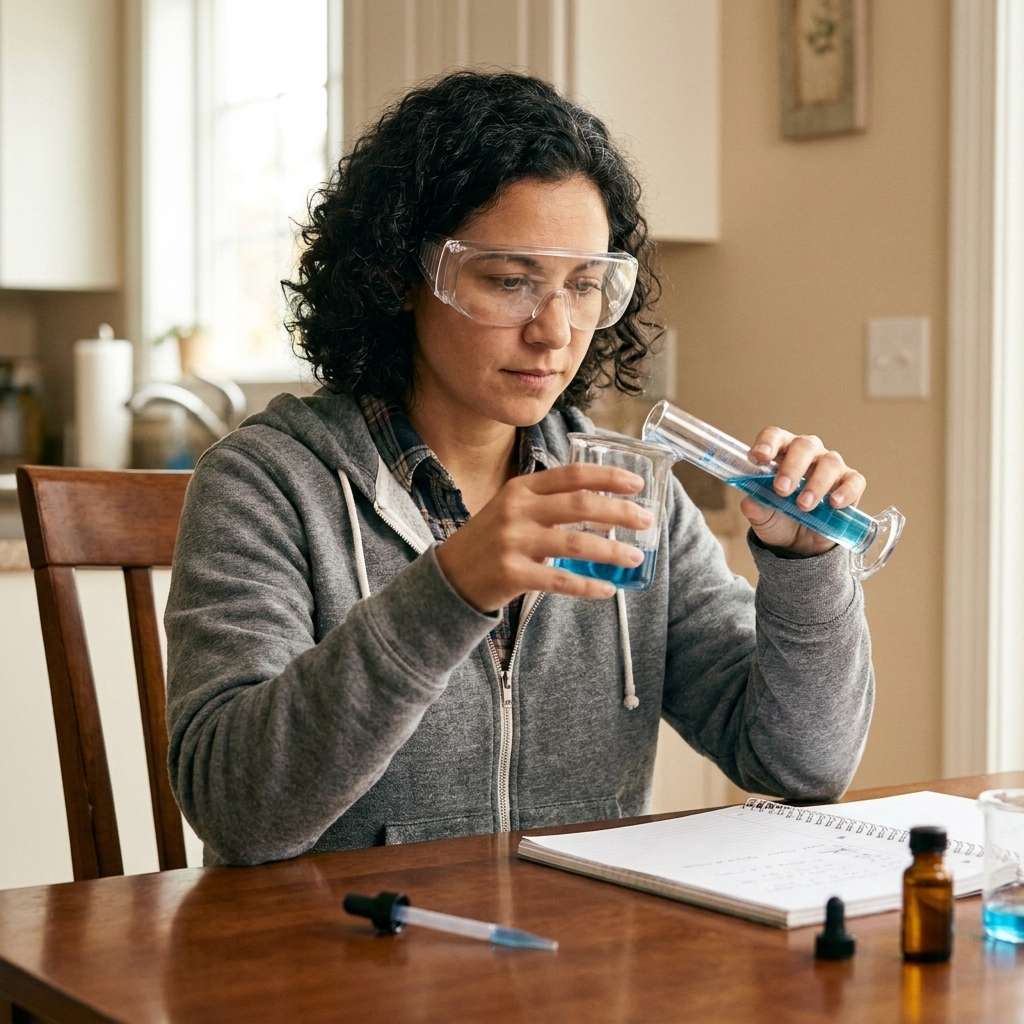
- Eye protection: One pair of safety goggles per student. If you do only one thing, do this.
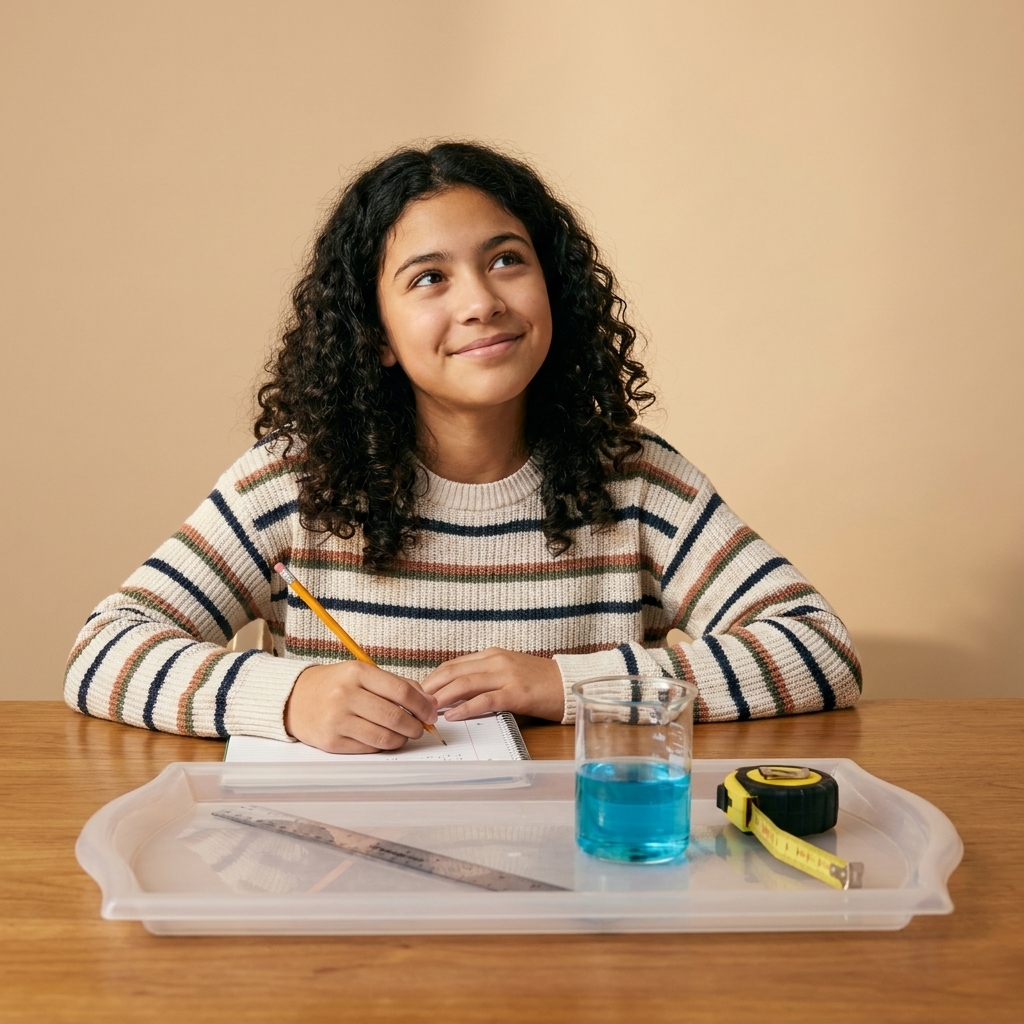
- Workspace protection: A silicone mat, cafeteria tray, or plastic table cover keeps cleanup easy and prevents damage.
- Gloves: Nitrile gloves for messy labs and handling unknown materials. Not always required, but good to have.
- First-aid kit: Include bandages and antiseptic wipes. For minor burns, cool running water is the go-to first step. Optional: a burn dressing if you already use one and know how.
- Fire safety: If you use heat sources, keep a small ABC fire extinguisher nearby and teach students where it is and how to alert an adult.
Home lab rules (print and post)
- No eating or drinking at the lab table.
- Label everything, especially liquids in jars or dropper bottles.
- Hair tied back, sleeves secure, closed-toe shoes for heat or tools.
- Clean as you go. The last 5 minutes are always reset time.
- Ask before using heat, blades, power tools, batteries, or chemicals beyond kitchen-safe items.
- Never mix household cleaners. Bleach plus ammonia or acids (including vinegar) can create dangerous gases.
Cleanup and disposal basics
- Label and date: Any mixture that is kept longer than a session needs a label with contents and date.
- Sharps: Put blades, needles, or broken glass in a puncture-resistant container, then follow local disposal rules.
- Batteries and electronics: Do not throw damaged or swollen batteries in the trash. Use local e-waste or battery drop-off programs.
- Chemicals: Follow product labels and local regulations. When in doubt, do not pour it down the drain.
Essential kit (budget tiers)
I like to build kits in layers. Start with the “core” and add as your student’s interests sharpen. Below are supplies that support a wide range of biology, chemistry, physics, math, and engineering activities.
Tier 1: Core kit (often under $50 to $80)
- Notebook and pencil case: Composition notebook or lab notebook, ruler, graph paper.
- Measuring tools: Tape measure, metric ruler, measuring spoons and cups, kitchen scale (grams).
- Basic labware: A few clear cups or jars, droppers or pipettes, small funnel, stirring sticks.
- Magnification: A clip-on phone microscope or simple magnifying glass.
- Adhesives and fasteners: Masking tape, clear tape, glue, rubber bands, binder clips.
- Safety: Goggles, nitrile gloves, workspace tray or mat.
Tier 2: Lab upgrades (add $60 to $150 over time)
- Digital multimeter: Essential for electronics and physics.
- Hot glue gun: For engineering builds. Use with supervision and a silicone mat.
- Graduated cylinder and beakers: For better measurement accuracy. Plastic is fine for home use.
- Thermometer: A digital kitchen thermometer works well.
- Microscope: A student microscope can be a big boost if biology is a passion.
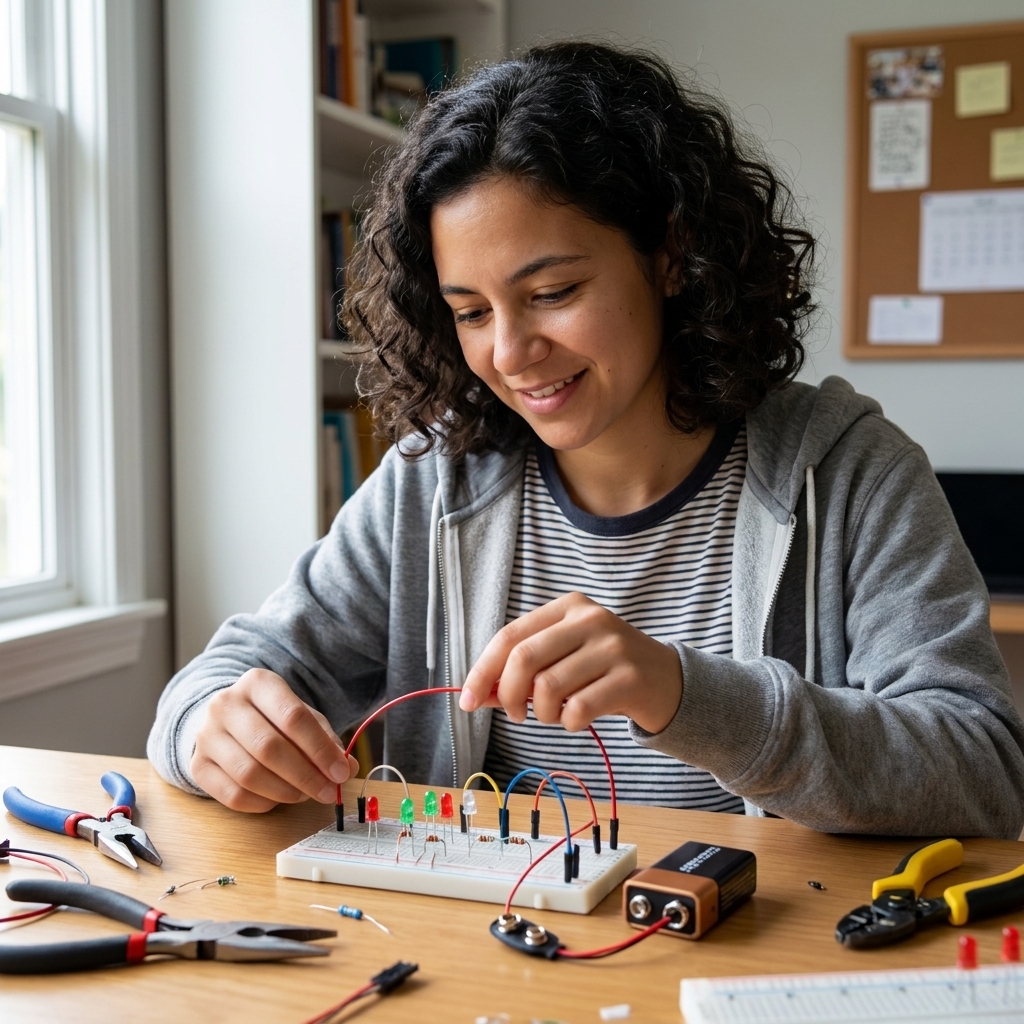
- Electronics starter set: Breadboard, jumper wires, resistors, LEDs, small motors.
Tier 3: Interest add-ons
- Chemistry leaning: pH strips, simple titration supplies, additional glassware (with caution), proper storage bins.
- Engineering leaning: Small hand saw, sanding block, precision screwdriver set, calipers.
- Computer science leaning: A reliable laptop, headphones, and a second monitor if possible.
- Robotics leaning: Microcontroller kit (Arduino or similar), sensors, servo motors.
Budget note: You can find excellent supplies secondhand through community groups, thrift stores, and school surplus sales. Inspect for cracks, corrosion, and missing safety pieces.
What not to buy first
Saving money is not just about buying cheaper items. It is about buying the right items in the right order.
- Giant “everything” chemistry kits: Many are overpriced, unclear about ingredients, or include materials that deserve higher-level supervision and storage.
- Complicated robotics sets before basics: Start with simple circuits, a breadboard, and a few sensors before a big all-in-one platform.
- Single-use novelty gadgets: If it only works for one activity, it can wait.
- Glass labware for beginners: Plastic is safer and plenty accurate for most home labs.
Storage that works
In my advising work, I see this pattern constantly: families buy great supplies, then everything disappears into drawers. Students stop experimenting because getting started feels like a chore. Your storage system teaches process, not just organization.
A simple system
- One “Lab Tote”: A lidded bin with the core kit. This is the grab-and-go option for shared spaces.
- One “Tools Caddy”: Scissors, tape, rulers, markers, screwdrivers, wire cutters.
- One “Consumables Box”: Gloves, pipettes, filter paper or coffee filters, batteries, spare wires.
- One “Project-in-Progress” tray: A cafeteria tray or shallow bin that can be moved without losing parts.
Labeling matters, but keep it simple. Students should be able to find what they need in under 30 seconds.
Stock a STEM pantry
These are the items that quietly power dozens of labs. Many are household staples, and that is a wonderful thing because it normalizes science as part of everyday life.
Household-friendly staples
- White vinegar, baking soda, salt, sugar, cornstarch
- Dish soap, food coloring
- Coffee filters, paper towels, aluminum foil
- Balloon pack, string, toothpicks, popsicle sticks
- Magnets (a set with different strengths is ideal)
- Batteries (AA and 9V), small flashlight
Math and data supplies
- Graph paper, sticky notes, index cards
- Dry erase markers (great for quick modeling on a whiteboard or laminated sheet)
- A simple calculator, protractor, compass
Safety reminder: Avoid storing unknown powders or unlabeled liquids. If a student makes a solution, label it with date and contents, then dispose of it safely after the experiment unless you have a clear reason to keep it.
Tech setup
For teens, a STEM lab is also a digital lab. The goal is a setup that supports documentation, data collection, and creation.
Recommended basics
- Device: Laptop or tablet with a keyboard for writing lab notes and coding.
- Charging station: One power strip with surge protection.
- Timer: Phone timer works. A small dedicated timer helps some students stay off social apps.
- Camera: A phone is perfect for recording builds and taking evidence photos for lab reports.
- Free software options: Spreadsheet tool, graphing tool, and a note app for lab logs.
If your student is interested in coding, set up a folder structure together: Projects, Data, Lab Notes, and Portfolio. That small habit becomes gold when they apply for programs, internships, or college.
Make it feel real
Students take learning more seriously when the environment signals “this is a place where thinking happens.”
Small touches
- Lab notebook routine: Date, question, hypothesis, materials, procedure, results, reflection.
- One display space: A corkboard or shelf for finished builds, sketches, and “next steps.”
- A question jar: Students drop in questions they want to test later.
- Weekly lab time: A consistent 45- to 90-minute block works better than occasional marathons.
When students know exactly when and where experimentation happens, they stop waiting for motivation and start building a habit.
Starter projects
Here are project ideas that work well for grades 6 to 12. Choose one that fits your student’s current confidence and interests, then document it with photos and a short lab write-up.
Science and engineering
- Oobleck and non-Newtonian fluids: Cornstarch plus water, then test how force changes behavior.
- Paper bridge challenge: Use paper, tape, and coins to test load-bearing designs.
- DIY pH investigations: Use pH strips to test household liquids and graph results.
- Balloon rocket physics: String track, balloon, and timing trials to explore variables.
- Simple circuits: Battery plus LED plus resistor, then move to breadboards and switches.
Math and data
- Measurement error study: Measure the same object multiple times, calculate mean and range, and discuss accuracy versus precision.
- Graphing real life: Track temperature across a week, compare indoor versus outdoor, and model trends.
- Probability with experiments: Coin flips, dice, spinners, then compare theoretical versus experimental probability.
Supervision guide
One reason home labs work is that students can build independence. Independence still needs clear boundaries.
Usually OK to do solo (with posted rules)
- Measurement, data collection, graphs, and spreadsheet work
- Household-ingredient investigations that do not involve cleaners (oobleck, paper engineering, salt and sugar dissolving, basic pH testing)
- Low-voltage circuits with batteries, LEDs, and resistors
Adult oversight required
- Heat sources (stovetop, hot plate, heat gun), open flames, or experiments that create fumes
- Soldering, melting plastics, or cutting and drilling
- Any chemical beyond household food-grade items, and any use of cleaners
- Unknown materials, powders, or reactions that produce gases
Transcript alignment
If you are homeschooling or supplementing, you may be wondering how this translates into “real” academics. The lab is the hands-on piece, but the academic credit comes from documentation and progression.
What to keep
- Lab notebook scans or photos
- A project log: Date, hours, goal, what changed, what was learned
- Data and graphs
- Short reflections: What failed, what you adjusted, what you would try next
- Portfolio photos: Clear images of builds and results
This portfolio becomes useful for science fairs, scholarship applications, and conversations with teachers or advisors. It also helps students see their own growth, which is powerful motivation in the middle school to high school transition.
Common questions
Do I need a microscope?
No. A microscope is wonderful for a biology-focused student, but measurement tools, a notebook system, and a safe workspace matter more at the beginning.
What if we live in a small apartment?
Use a lab tote plus a tray that can live on a shelf. The kitchen table is often the best lab bench you already own. Your main job is to make setup and reset fast.
Are chemistry kits safe for teens?
Some are, many are not worth the cost, and a few are unsafe or unclear about ingredients. I prefer starting with household-ingredient labs and adding higher-level materials only when you have strong supervision, proper storage, and clear safety procedures.
How do I keep siblings from “helping” in unhelpful ways?
Make roles. One student is the lead investigator, one is the recorder, one is the materials manager. Rotating roles reduces conflict and builds real collaboration skills.
30-minute launch checklist
- Pick a location and clear a 2-by-3 foot workspace.
- Add a tray or mat, goggles, and paper towels.
- Create one bin labeled “STEM Lab” with a notebook, ruler, tape, scissors, and measuring tools.
- Choose one starter project and write the question at the top of a fresh notebook page.
- Schedule your first lab session and keep it short and successful.
If you want, tell me your student’s grade level and biggest STEM interest right now (biology, chemistry, coding, robotics, engineering, or “not sure yet”). I can suggest a budget-friendly supply list and a first project that fits their goals.